
 May 27, 2025
When it comes to computer cases, NZXT has established itself as a brand known for its sleek designs, high - quality construction, and user - friendly features. However, over time, the case fans in NZXT cases may need to be replaced due to wear and tear, performance degradation, or the desire to upgrade to better - performing fans. Replacing case fans in NZXT cases requires a careful understanding of the case's design and the specific requirements of the fans.
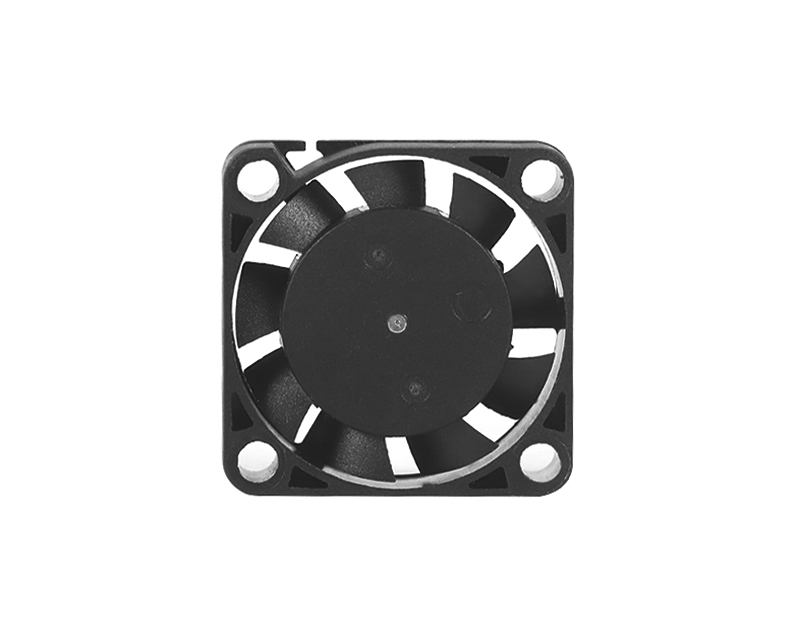
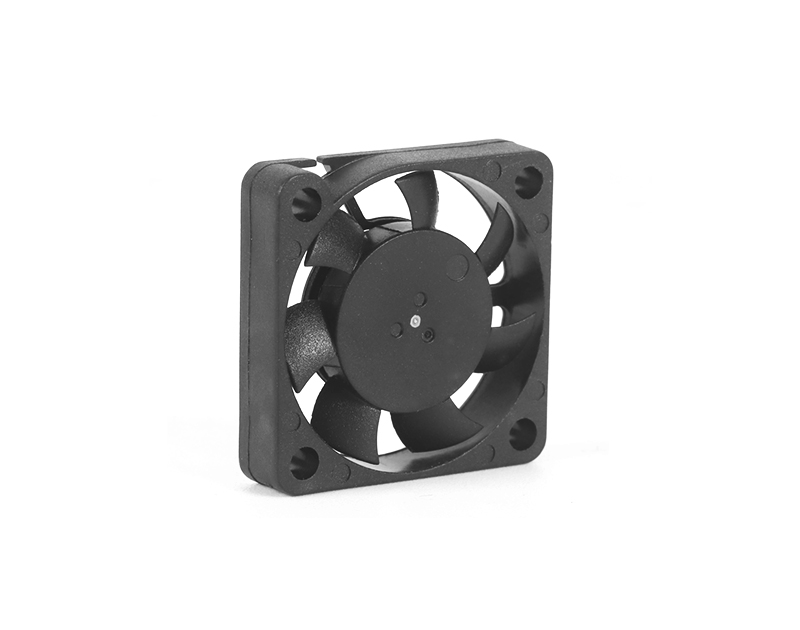
NZXT cases are designed with a modular and intuitive structure, which simplifies the fan replacement process to a certain extent. Before starting the replacement, it is essential to gather the necessary tools, such as a screwdriver, and ensure that the new fans are compatible with the case. NZXT cases often have specific fan mounting points and sizes, so choosing fans that match these specifications is crucial. For example, many NZXT cases support 120mm or 140mm fans, and some may have unique mounting configurations, such as those with rubber grommets to reduce vibration.
The first step in replacing the case fans is to power down the computer completely and unplug all cables. This ensures safety during the replacement process. Then, carefully remove the side panel of the NZXT case. Most NZXT cases use thumbscrews or a simple release mechanism for easy access to the interior. Once the side panel is off, locate the existing fans. They are usually mounted on the front, top, or rear of the case, depending on the case model and the airflow design.
To remove the old fans, carefully unscrew the mounting screws or release any clips that hold the fans in place. Take note of the orientation of the fans, as proper airflow direction is essential for effective cooling. In general, intake fans pull air into the case, while exhaust fans push air out. After removing the old fans, clean the fan mounting area to remove any dust or debris that may have accumulated.
Installing the new fans is the next step. Align the new fans with the mounting holes in the case and secure them in place using the provided screws or clips. Connect the fan cables to the appropriate headers on the motherboard or the fan controller, depending on the setup. NZXT cases often come with fan controllers that allow for easy adjustment of fan speeds, so make sure to connect the fans correctly to take advantage of this feature.
After installing the new fans, it is advisable to test the system. Power on the computer and check if the fans are spinning properly. Use software tools to monitor the fan speeds and ensure that they are operating within the expected range. Replacing case fans in NZXT cases not only helps in maintaining optimal cooling performance but also gives users the opportunity to customize their system's look and performance, whether it's by choosing fans with LED lighting or higher - CFM (cubic feet per minute) fans for better airflow.
If you have any suggestions and comments on our products and services, please fill in the following table

No. 18, Liguang New Industrial Zone Liguang Community, Guanlan Sub-district Longhua District, Shenzhen
Copyright 2026 © Shenzhen Yuchuang Industry Co., Ltd. 粤ICP备16089648号


 Chinese
 CN
CN Home >